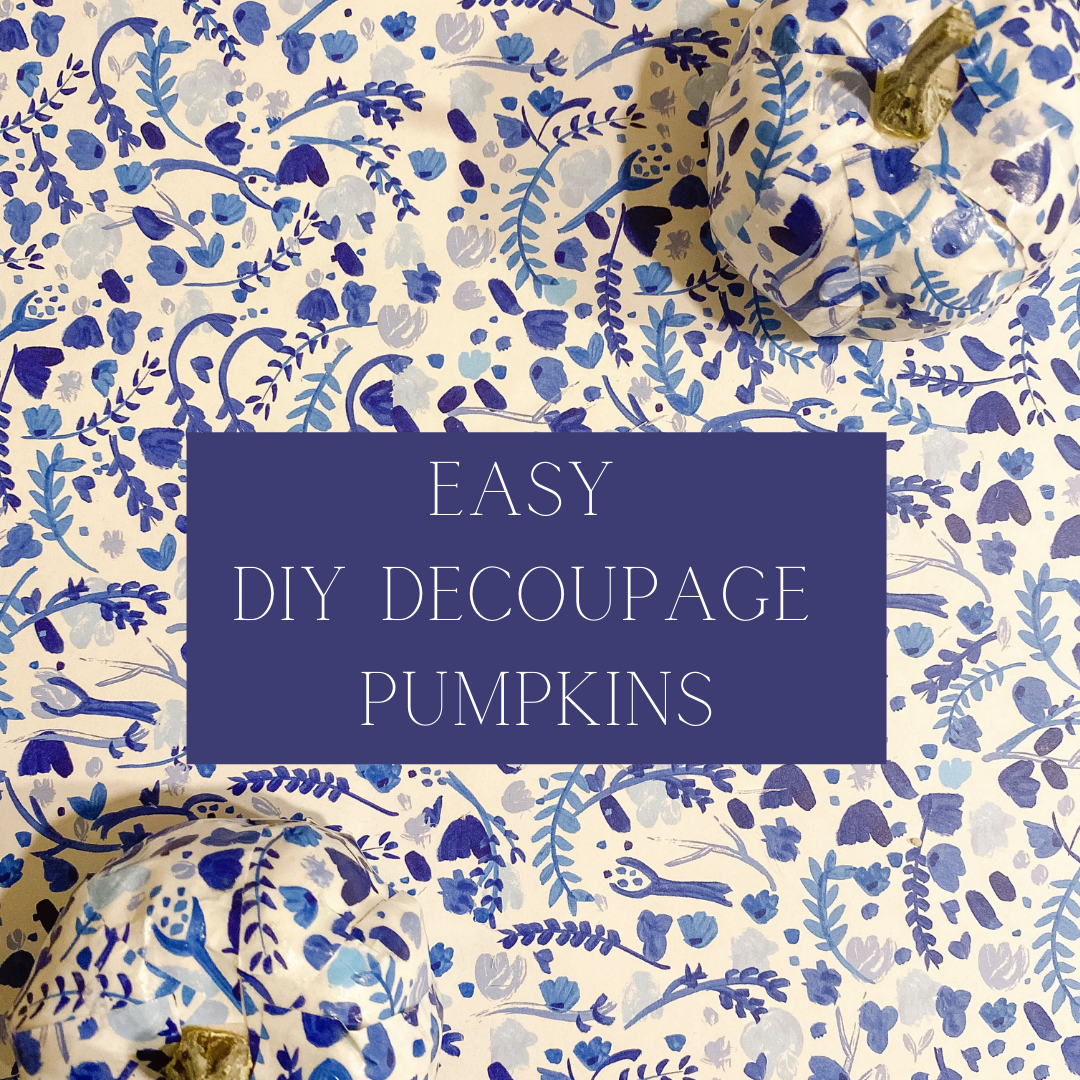
DIY: Blue & White Decoupage Pumpkins

With Halloween and Thanksgiving right around the corner, it's time for the seasonal crafting to begin! And what better way then a quick and easy pumpkin craft to get you in the mood?
The great thing with these pumpkins is that the options are endless! You can choose any color scheme or pattern to fit your specific holiday/home décor. For me, blue and white décor is so timeless, so I created these easy DIY Blue and White Decoupage Pumpkins for you to enjoy!

materials:
- Scrapbook paper, tissue paper, or napkins
- Mod Podge
- White plastic pumpkins (can easily buy on Amazon!)
- Paintbrush
- Plastic plate
- Material to protect crafting surface!
step 1: cut paper into small sections
For me, selecting the paper was the fun part! I went to Paper Source and the options were endless. Depending on the thickness of the paper, you'll want to modify how large your pieces of paper are.
For example, if using paper napkins, you'll first remove any of the extra white layers. Most napkins are 2 or 3 ply, meaning that they have 2 or 3 layers. Then, cut the design part of the napkin into strips. These will probably be about 1 -2 inches thick and 3-4 inches wide.
Or, if using scrapbook paper (which is thicker), you'll want small pieces of paper. My pieces were about 1 in thick and 3 inches long. This will make it easier to handle!
step 2: apply mod podge
Pour your Mod Podge onto your plastic plate. Using your brush, apply Mod Podge to a section of the pumpkin.
step 3: adhere paper
Stick your pre-cut strips of paper onto the pumpkin. Smooth out any bumps, and apply Mod Podge on top of the paper if any parts are sticking out.
step 4: repeat
Continue to above two steps until you've covered your entire pumpkin. Fill in any blank spots with smaller pieces of paper.
step 5: seal your pumpkin
To give your pumpkin an extra "glow", cover the entire completed pumpkin with a layer of Mod Podge. If it looks hazy white, don't worry! After a few hours it will dry clear! I'd recommend letting it sit for 5 to 6 hours just to be on the safe side.
And Voila! You're done! This project is super forgiving, and there are NO right or wrong ways to do it. Have fun!

xo P

Leave a comment
This site is protected by hCaptcha and the hCaptcha Privacy Policy and Terms of Service apply.