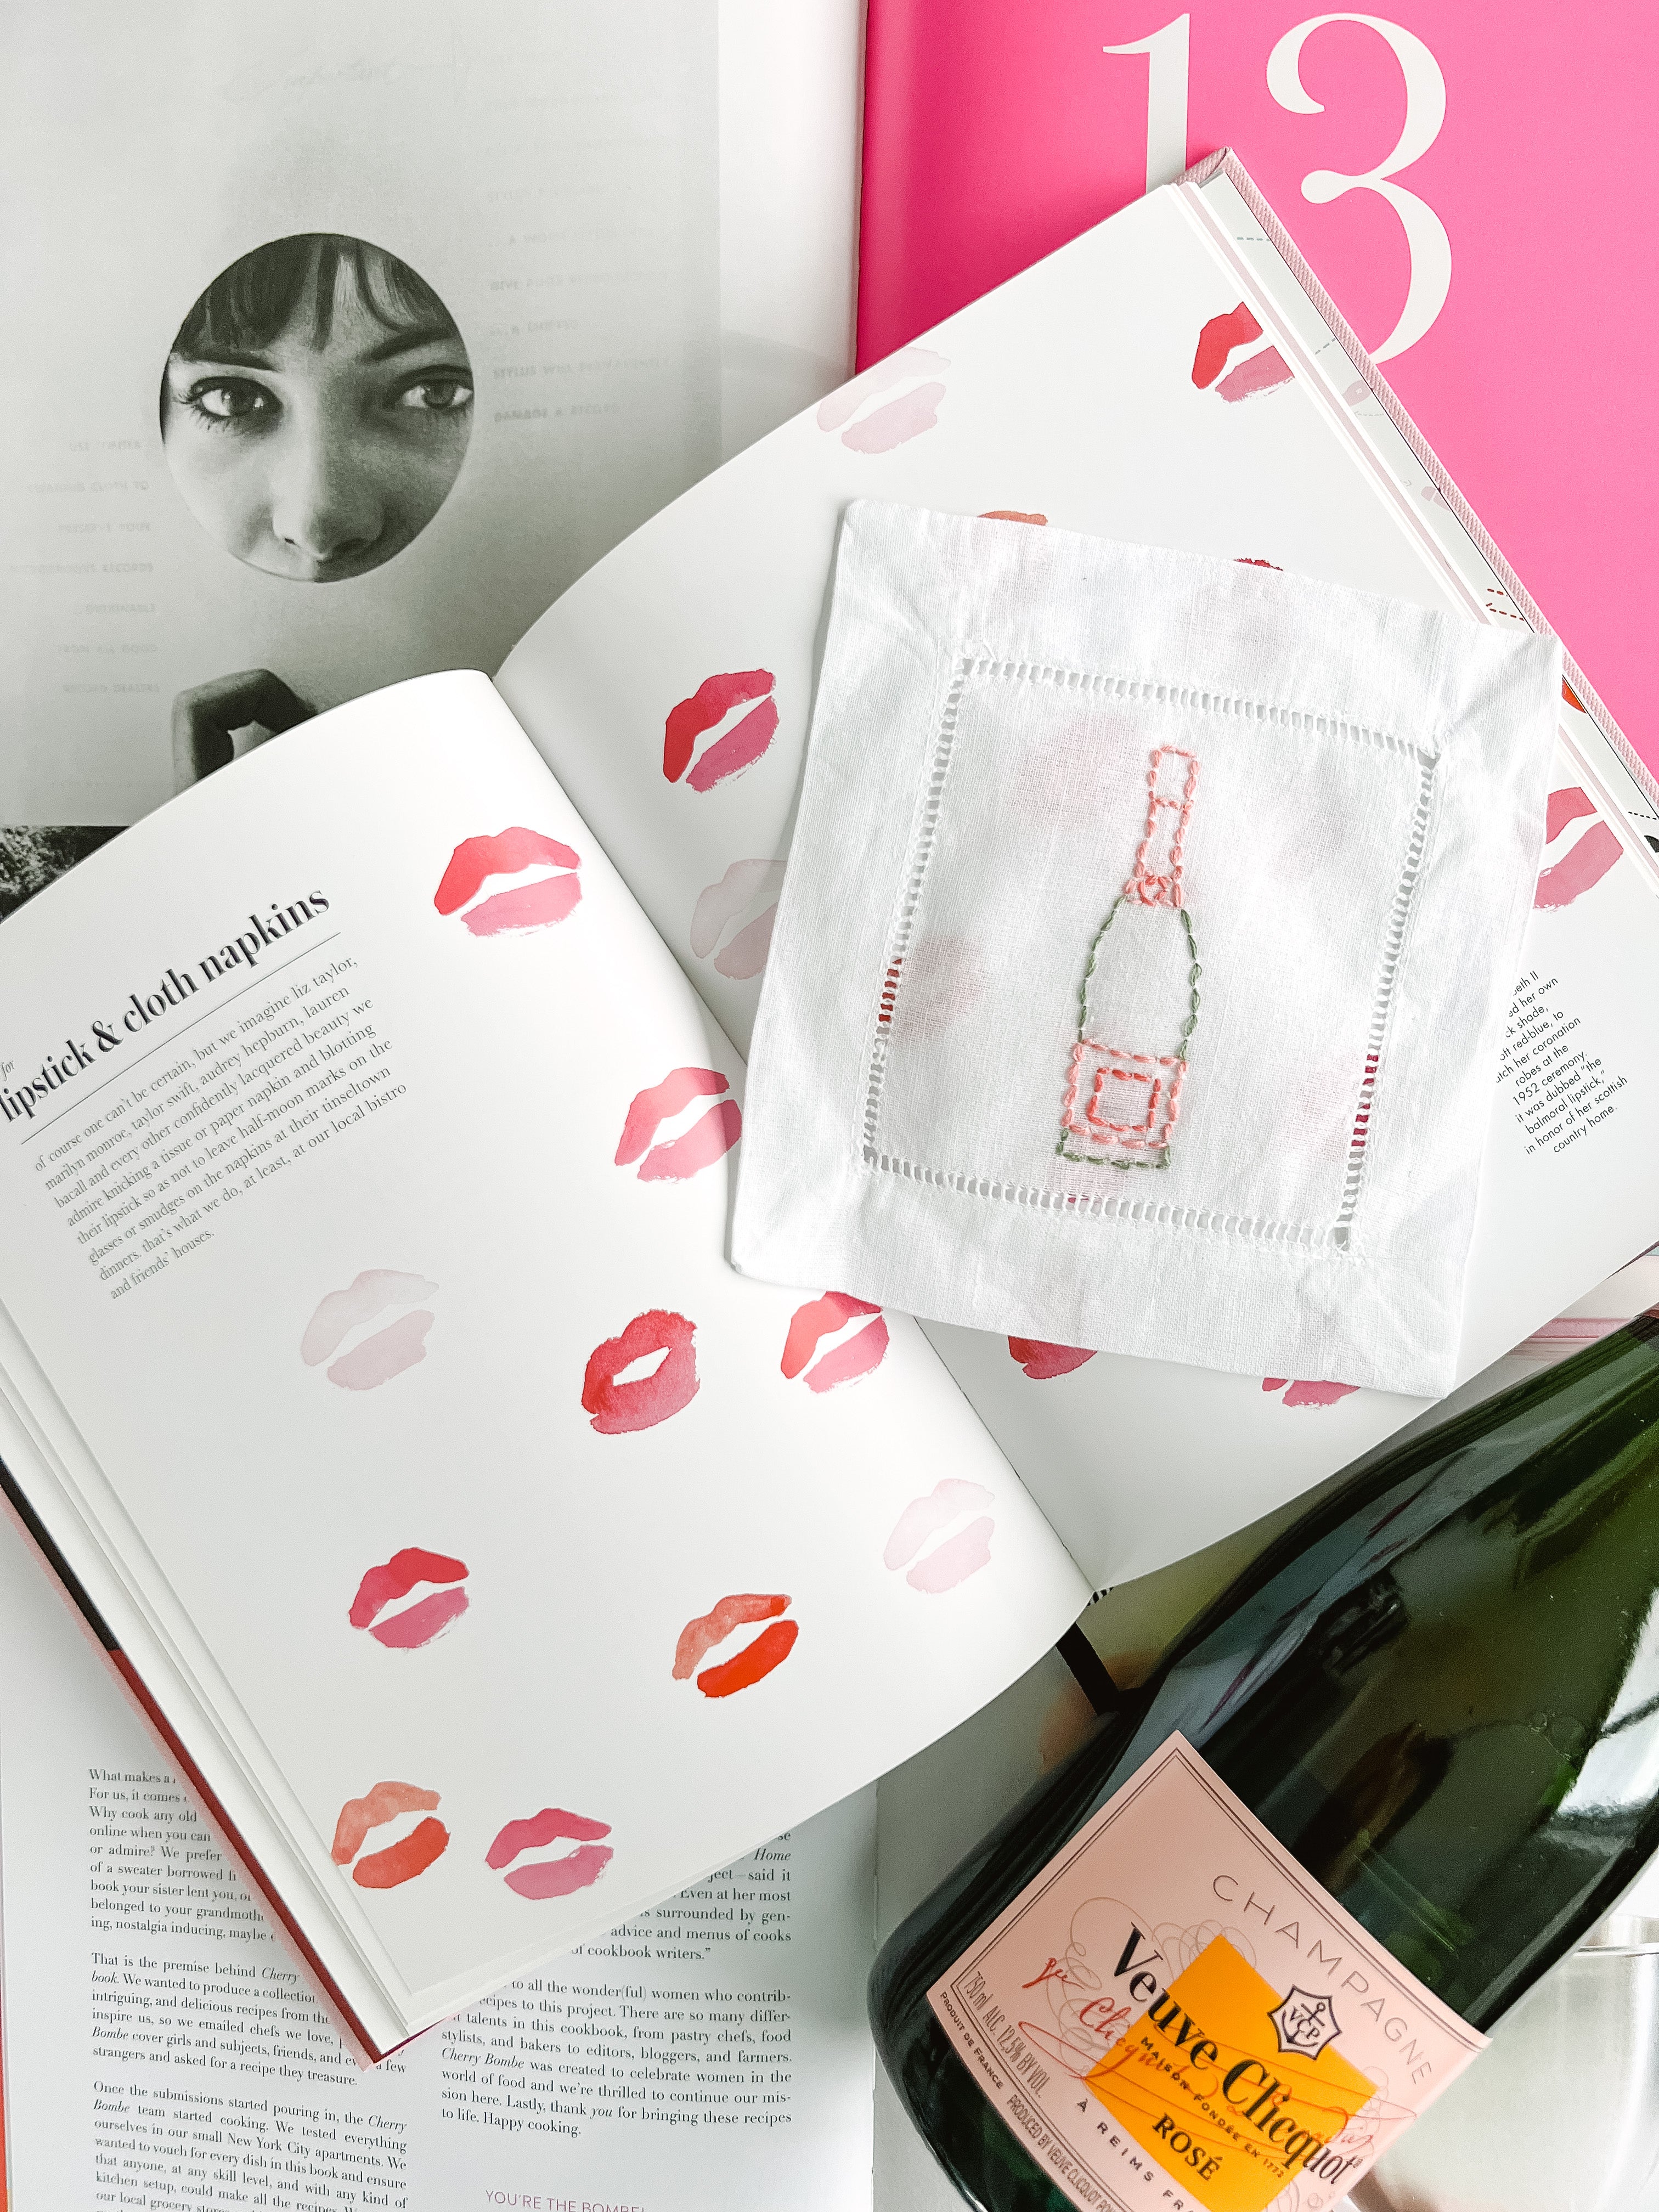
DIY: Embroidered Champagne Cocktail Napkins
After posting my own hand-embroidered cocktail napkins last week, I received quite a few requests for a more detailed how-to!
So, I decided that it would be fun to teach you how to embroider a champagne bottle!

You'll need:
- Green, Light Pink and Darker Pink Embroidery thread ( I bought mine from Joann Fabrics)
- Embroidery Hoop, 5 1/2 in (Amazon has a 4 in one, linked here)
- Cocktail Napkins (Mine are from Amazon, linked here)
- Embroidery needle (Amazon, linked here)
- Pencil
- Paper
1. First, you'll want to choose the colors for your champagne bottle. I am using this green, light pink and dark pink because I already have them at home. But, feel free to go wild and change it up!

2. With pencil, lightly draw the champagne bottle onto your cocktail napkin.

3. Thread your embroidery needle with the light green thread, and tie a knot at the end. Now, you can begin to stitch! You will want to use the backstitch, which is the most common stitch (and very easy!)
I've linked a video here for you to check out.
https://www.youtube.com/watch?v=HFZPAbxZSA4
4. Just follow the pencil lines and stitch! It's that simple!

When you need to change thread, pull the thread to the back of the canvas and knot it off, and then cut off the excess thread. Then, start with your new thread!
Made a mistake? No worries! Just use your needle to pull out your previous stitch.
I used the light pink thread for the top of the bottle and at the bottom of the bottle for the label. I then used the green thread for the actual bottle, and the darker pink inside of the light pink for the label.

As I was embroidering, I decided to update my design by adding in a dark pink box in the label. And that's okay! Feel free to modify as you go along.
5. Voila! You are done! Not that hard, right?

Let me know how it goes! I love being tagged in your photos @withlovebybug on Instagram!
The above content may contain affiliate links. When you click and shop the links, I may receive a commission.


Leave a comment
This site is protected by hCaptcha and the hCaptcha Privacy Policy and Terms of Service apply.